Disarming Techniques
If you skipped ahead and haven’t read through Part 1 of our basic gun defense series, now is a great time to do so before tackling this second post.
Krav Maga disarming techniques are designed, first and foremost, to keep you alive. What makes them superior to many other types of disarming techniques is the economy of motion we preach and the brutality of the strikes you are positioned to deliver. In large part, this is because rather than sport or point fighting, Krav Maga’s sole purpose is real-world self-defense. This technique is a dead-side variant to the basic gun defense we’ve already covered.
The Assailant
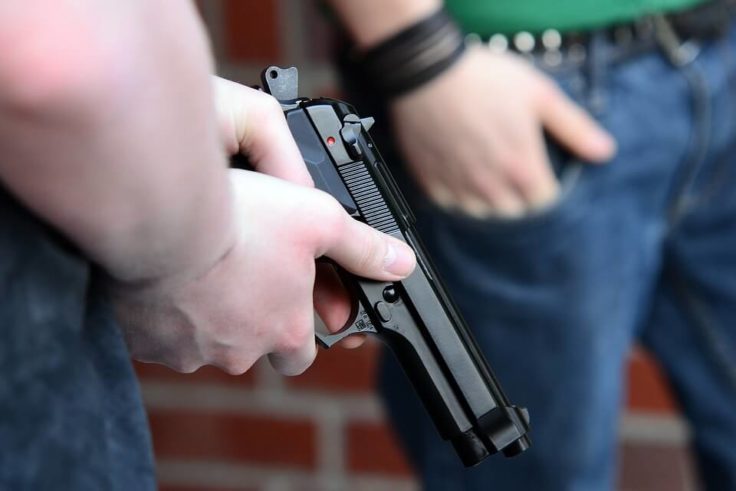
For this scenario, we’re going to use the same assailant as last time. A man of average height and build steps in front of you brandishing a firearm. The assailant is aiming at your centerline or more to your right side. While you assume he is pointing the gun at your chest, it could be aimed anywhere from crown to groin.
Remember The Goal
The number one goal of these disarming techniques is for you to not get shot. Our immediate concern is to stop and neutralize the threat. To do this, we’re going to rely once again on the four principles of gun defense: redirect, control, attack, and take away.
What To Do
Redirect
Using the smallest move possible, bring your left hand up and place your index finger at the side of the weapon. Move the weapon in a straight line to your right, bringing your left shoulder forward to increase your reach and blading your body to make you, the target, smaller.
Control
Close your hand around the assailant’s pistol. For better control, push it down and away, placing your weight directly over it. If the assailant wants to aim it back at you, they’ll have to lift your bodyweight to do it.
Attack
Step quickly in, leading with your left foot. This will move the gun further off track, trapping it and the assailant’s hand against their body, while your right hand is free to strike their face, neck, or other vital target areas.
Take Away
Crank the gun sharply through a 90° turn further away from you. If the assailant’s finger is still in the trigger guard, it will most likely be broken. Wrench the gun free, stepping back to add some distance.
Preparing Yourself
As with most types of disarming techniques, your success when it counts will be directly influenced by your training. Train like it’s real, and you’ll be better prepared in the unfortunate event that an attack ever happens. When practicing this technique, ensure your partner does not have their finger in the trigger guard, or it will break.
Sign up for your training in self-defense and disarming techniques today at your nearest Krav Maga Worldwide location.
For more information on disarming techniques, read on to Part 3, where we’ll look at a live-side variation to the front gun defense.

Today's tip is an extrapolation of an excerpt from Black Belt Krav Maga, co-authored by Darren Levine and Ryan Hoover. Available on Amazon now.